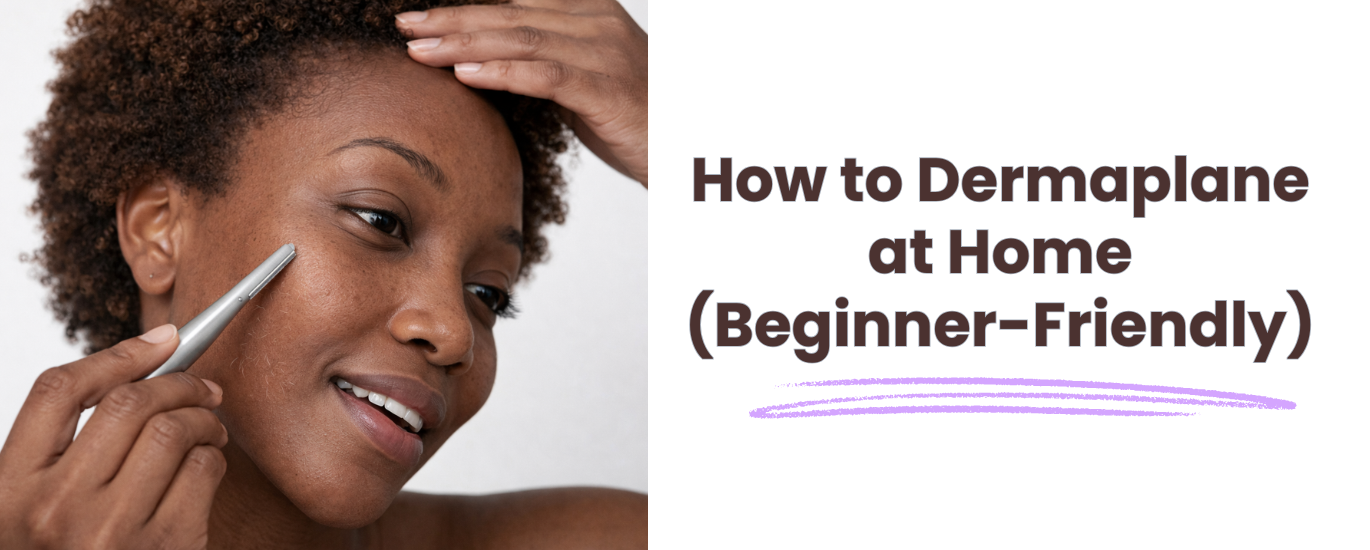
How to Dermaplane at Home for Beginners
If you’ve been trying to figure out how to dermaplane at home without nicking your skin, triggering breakouts, or leaving it irritated for days, this guide will help.
Most beginners have the same questions. What tool should you use, how much pressure is too much, how often should you do it, and what should you put on your skin afterward?
This guide walks through the full process from prep to aftercare, including how to adjust it for your skin type and what to avoid if you use retinol or acids.
Dermaplaning at home can help remove peach fuzz, smooth the look of makeup, and help skincare absorb better, but the technique has to be right.
What Dermaplaning Actually Does to Skin

Disclosure: This article is reader-supported and contains affiliate links.
At its most basic, dermaplaning is a form of physical exfoliation. A surgical-grade blade, held at a precise 45-degree angle, scrapes away the outermost layer of dead skin cells and fine vellus hair from the face.
Skin sheds on its own, but that process can slow down with age and get thrown off by UV exposure, product buildup, and hormonal changes. Dead skin cells start to build up on the surface, which can leave skin looking dull and rough.
It can also make serums sit on top of the skin instead of absorbing well and cause makeup to apply unevenly.
Scrubs remove that buildup through friction. Chemical exfoliants like AHAs and BHAs loosen the bonds between dead skin cells. Dermaplaning works in a different way, lifting off that surface layer while also removing fine facial hair.
The result is a smoother surface that can help active ingredients absorb more easily. That is also why dermaplaning is sometimes paired with other in-office treatments by professionals.
Who Should Not Dermaplane at Home
Certain skin conditions make dermaplaning genuinely risky, regardless of how careful the technique is. Knowing when to skip it is as important as knowing how to do it.
Avoid dermaplaning with any of the following:
- Active acne, pustules, or cystic breakouts
- Sunburned or wind-burned skin
- Active eczema or psoriasis
- Rosacea with broken capillaries or active flushing
- Raised moles, skin tags, or suspicious lesions in the treatment area
- Open wounds, cuts, or skin that is healing from a recent procedure
Dermaplaning over active acne can spread bacteria across the face, make inflammation worse, and raise the chance of post inflammatory scarring.
A small isolated breakout can sometimes be worked around carefully, but you should not dermaplane directly over any pimple or cyst.
What You Need Before You Start Dermaplaning
Dermaplaning requires more preparation than most at-home treatments because the margin for error is smaller. Having the right tools and conditions in place before starting reduces the risk.
Tools and supplies
- A dermaplaning tool fitted with a fresh, unused blade
- Antibacterial soap for handwashing
- A gentle facial cleanser, ideally two types for double cleansing
- 70% isopropyl rubbing alcohol for tool disinfection
- A clean, dry towel
- Bright, even lighting with no shadows – natural daylight works best
- A standard mirror at eye level and a magnifying mirror for post-treatment inspection
A note on blade choice for beginners
Guarded facial dermaplaning razors are usually the safer place to start. They expose less of the blade, which can help lower the chance of nicks while you are still getting used to the right angle and pressure.
Larger unguarded surgical style blades are common in professional settings where the person using them has a lot of training. For at-home use, especially in the beginning, guarded tools are usually easier to handle.
How to Dermaplane at Home: Step-by-Step Guide
Prepare Your Skin Properly
- Wash hands thoroughly with antibacterial soap before touching the face.
- Start with a double cleanse. Use an oil based cleanser first to remove makeup, SPF, and sebum, then follow with a water based cleanser to clean the skin itself.
- Pat your face fully dry with a clean towel. Then wait a few minutes and make sure there is no moisture left on the skin. Damp skin can change how the blade moves across the surface.
- Disinfect your dermaplaning tool with rubbing alcohol and let it air dry completely before you begin.
The Dermaplaning Technique

- Hold the dermaplaning tool with a relaxed but controlled grip, similar to holding a pen.
- Position the blade against the skin at a 45-degree angle. This is one of the most important parts of the process. A steeper angle raises the risk of cuts, while a flatter angle makes exfoliation less effective.
- Use the non-dominant hand to pull the skin taut. Stretched skin allows the blade to glide smoothly and reduces the risk of nicking or catching. This step matters just as much as the blade itself.
- Start with the cheeks. They give you the most surface area to work with and are easier to handle than areas like the chin or upper lip.
- Use short downward strokes that follow the direction of hair growth. Keep each stroke around two to three inches long and use very light pressure. Smooth, deliberate strokes are safer than hesitant ones.
- Work through your face in sections. A good order for beginners is right cheek, left cheek, forehead from the center outward, chin, upper lip, then the areas around the nose.
- Be extra careful around the nose, chin, and upper lip. The curves in these areas make it harder to keep the angle steady, and this is where most nicks happen.
What to Listen for and Notice During the Session
A light scraping sound during each stroke is normal. That usually means the blade is lifting away fine hair and surface buildup.
What you should not notice is dragging, skipping, or any sharp discomfort. If that happens, check that your skin is fully dry, the angle is correct, and the pressure is still light.
Checking Results and Catching Missed Spots
After you finish the full face, rinse with cool water to remove any loosened dead skin and hair. Pat the skin dry, then check your face in a magnifying mirror under good lighting.
Look for areas where peach fuzz is still visible or where the texture does not feel as smooth as the rest of the face. Spots that often get missed include the sides of the nose, the corners near the hairline, and just below the jawline. Go over those areas again using the same angle and light pressure as before.
Common Dermaplaning Side Effects and How to Prevent Them
| Side Effect | Likely Cause | Prevention |
|---|---|---|
| Breakouts after treatment | Dirty tools, spreading bacteria from active spots, comedogenic products applied too soon | Disinfect tools before every use, avoid active spots entirely, use only non-comedogenic products for 48 hours after |
| Redness and irritation | Too much pressure, repeated passes over one area, dermaplaning too frequently | Use lighter pressure, limit passes, wait at least three to four weeks between sessions |
| Dry or tight skin | Over-exfoliation, skipping post-treatment hydration | Moisturize immediately after, use ceramide-rich products to support the skin barrier |
| Cuts and nicks | Incorrect blade angle, insufficient skin tension, rushing through contoured areas | Maintain 45-degree angle consistently, keep skin pulled taut, slow down around the nose and chin |
| Small bumps or folliculitis | Oil or balm clogging follicles during treatment, or bacterial contamination from tools | Use dry technique, avoid heavy slip products, ensure tools are properly sanitised before each use |
| Skin feeling raw | Dermaplaning over compromised skin, or applying strong actives too soon after | Skip dermaplaning when skin is already irritated, pause irritating actives for a few days before and after, especially retinoids, acids, benzoyl peroxide, and strong vitamin C formulas |
Dermaplaning Aftercare
What you do in the 48 hours after a session can affect both your results and how your skin recovers. Freshly exfoliated skin is more exposed, which means it can get irritated more easily and is more sensitive to UV damage.
What to apply after dermaplaning
- Apply a gentle hydrating serum or moisturizer right after rinsing.
- Use a broad spectrum SPF the next morning without exception.
- Stick to simple fragrance-free products for at least two full days.
- Barrier supporting ingredients like ceramides, hyaluronic acid, and niacinamide are usually good options.
What to avoid after dermaplaning
- Do not use retinol, tretinoin, or any other retinoid.
- Do not use AHAs, BHAs, or any other exfoliant.
- Skip vitamin C serums.
- Avoid physical scrubs.
- Skip heavy facial oils or rich balms if your skin clogs easily.
- Do not leave skin exposed to direct sun without protection.
Freshly dermaplaned skin is more sensitive, so products that are normally well tolerated can cause rawness, redness, and flaking when applied to freshly exfoliated skin. Keeping the post-treatment window clean and simple is one of the most effective ways to avoid a reaction.
Oilplaning: Dermaplaning on a Layer of Facial Oil
Oilplaning applies a thin layer of lightweight facial oil to the skin before the blade passes over. The oil creates slip, which reduces irritation for some people and allows the blade to move more smoothly across the surface.
The technique has a following among those with dry or sensitive skin who find dry dermaplaning too abrasive. The blade does behave differently on an oiled surface, and the occasional pulling sensation associated with dry dermaplaning is often reduced.
There are real trade-offs worth understanding. Oil can make the blade harder to control, especially if you are still learning pressure and angle. Some people with acne-prone skin also say oilplaning can lead to congestion, whiteheads, or folliculitis, especially when heavier oils or cleansing balms are used instead of lighter options.
Squalane and jojoba come up most often in positive feedback, likely because they are lightweight and less likely to clog the skin than richer oils.
Oilplaning is usually better to try once your dry dermaplaning technique already feels consistent. For beginners, adding oil before basic control is in place can make the process harder to manage safely.
How to Adjust Dermaplaning for Your Skin Type
| Skin Type | Frequency | Technique Adjustments | Post-Treatment Focus |
|---|---|---|---|
| Normal | Every 3 to 4 weeks | Standard technique | Hydration and SPF |
| Dry | Every 3 to 4 weeks | Consider oilplaning after mastering dry technique | Ceramides, barrier repair |
| Sensitive | Every 4 to 6 weeks | Lighter pressure throughout, oilplaning optional | Avoid all actives for 3 days, focus on calming ingredients |
| Oily or acne-prone | Every 4 weeks maximum | Dry technique only, skip over any active spots | Non-comedogenic moisturiser, no heavy oils |
| Combination | Every 4 weeks full face, optional T-zone pass at 2 weeks | Adjust pressure by zone | Lightweight, non-comedogenic hydration |
| Mature | Every 5 to 6 weeks | Extra light pressure, prioritise consistent skin tension | Barrier repair, SPF |
Seasonal Considerations for Dermaplaning
Sun exposure on freshly dermaplaned skin raises the risk of hyperpigmentation and UV damage. Dermaplaning during fall and winter, or during periods of naturally lower sun exposure, reduces this risk. For skin tones more prone to pigmentation changes, this seasonal timing is especially worth factoring in.
How Often to Dermaplane at Home
It’s generally recommended to leave three to four weeks between sessions. That lines up with the skin’s natural cell turnover cycle and gives the surface time to renew before you exfoliate again.
Dermaplaning more often than every three weeks can wear down the skin barrier. That can lead to ongoing irritation, tightness, more sensitivity, and a raw feeling that lasts longer than the session itself.
Some experienced users say they dermaplane weekly, but most practitioners see that as too often. It’s especially risky for beginners who are still learning pressure and technique. Starting with monthly sessions and adjusting carefully from there is the safer approach.
Building Better Dermaplaning Technique Over Time
Dermaplaning is something you get better at with practice. Early sessions usually do not look like later ones, and knowing that from the start helps keep expectations realistic.
At first, the goal is pretty simple. Get through a session without cuts and see some improvement in texture. That counts as a good first attempt.
Pressure control takes time to learn. With practice, it gets easier to notice when the blade is pressing too hard before irritation starts, and to see that different areas of the face need a different touch. What feels slow and awkward at first usually becomes steadier and more consistent over time.
The bigger risk after a few good sessions is getting too comfortable. Skipping skin tension, moving too fast over curved areas, or making sessions longer before your technique is solid are the habits that usually lead to problems. Good results come from doing the same careful steps every time.
Practical drills for building control
- Practice the angle on your forearm: Hold the dermaplaning tool at a 45 degree angle against the forearm without making a stroke. Just focus on placing it correctly. Hold for 30 seconds, release, and repeat. This helps build muscle memory for the right angle before you try it on your face.
- Practice pressure on your forearm: Use clean forearm skin and try a few strokes with different amounts of pressure so you can learn what light pressure actually feels like. Most beginners apply more pressure than they realize.
- Practice using both hands together: Pull the skin taut with your non dominant hand while keeping your dominant hand still. Getting both hands to work smoothly and independently takes practice.
The Bottom Line: Technique Matters, But So Does Your Tool
Most at-home dermaplaning mistakes come back to two things – uneven technique and using a tool that was not made for precise control. The guidance in this article covers the first.
For the second, the Sonicsmooth Pro+ by Michael Todd Beauty is a beginner-friendly option worth considering.
It’s designed to exfoliate skin and remove peach fuzz in the same treatment, with a built-in safety guard, three speed settings, and LED lighting that can make it easier to see what you are doing around the nose and jawline. If you are still getting comfortable with pressure and angle, those features can help make the process feel less intimidating.
Michael Todd Beauty describes it as dermatologist-approved, and the brand also offers a 30-day money-back guarantee.
If you want a tool that helps take some of the stress out of learning dermaplaning at home, the Sonicsmooth Pro+ is worth a look.
Frequently Asked Questions
Does Dermaplaning Make Facial Hair Grow Back Thicker?
No, dermaplaning does not make facial hair grow back thicker or darker. Vellus hair has a naturally tapered tip. Cutting it leaves a blunt end that can feel slightly stubbly during regrowth, but the hair follicle is unaffected and the texture remains the same.
Can I Dermaplane If I Have Acne?
No, not over active breakouts. Dermaplaning over pimples or cysts spreads bacteria, worsens inflammation, and raises the risk of scarring. If you have isolated spots, work carefully around them. Widespread or severe acne is a reason to skip dermaplaning entirely until skin has cleared.
What Is the Difference Between Dermaplaning and Shaving?
Dermaplaning uses a surgical-grade blade at a precise 45-degree angle to remove dead skin cells and vellus hair simultaneously. Shaving focuses on hair removal only and uses a different blade design with no exfoliation effect. The technique, pressure, and results are not the same.
How Often Should You Replace Dermaplaning Blades?
Dermaplaning blades should be replaced after every single use. Even a blade that looks clean can harbor bacteria and loses sharpness quickly, reducing effectiveness and increasing the risk of irritation and infection.
Can Dermaplaning Help With Acne Scars?
Dermaplaning may help improve the look of some shallow surface irregularities or mild post-acne texture, but it will not treat deep or pitted scars. For more noticeable structural scarring, it is best to speak with a dermatologist about treatments such as microneedling, laser resurfacing, or professional chemical peels.
Should You Dermaplane Before or After Cleansing?
Always after cleansing. Skin must be completely free of makeup, SPF, oil, and product residue before a blade passes over it. Double cleansing beforehand is the most thorough preparation. After dermaplaning, a cool water rinse is sufficient before applying post-treatment products.
Disclaimer: This article is for informational purposes only and is not medical advice. If you have a skin condition, active acne, or concerns about irritation, check with a dermatologist before trying dermaplaning at home.
